Quickstart for AIDR and Azure Deployment
This quickstart demonstrates deploying AIDR on Azure.
Security
Follow your organization's security requirements for Kubernetes clusters.
Azure Portal
In the Azure Portal: - NOTE: This will require necessary permission and authorizations to create resources.
- Log in to Microsoft Azure Portal.
- Select Create a resource.
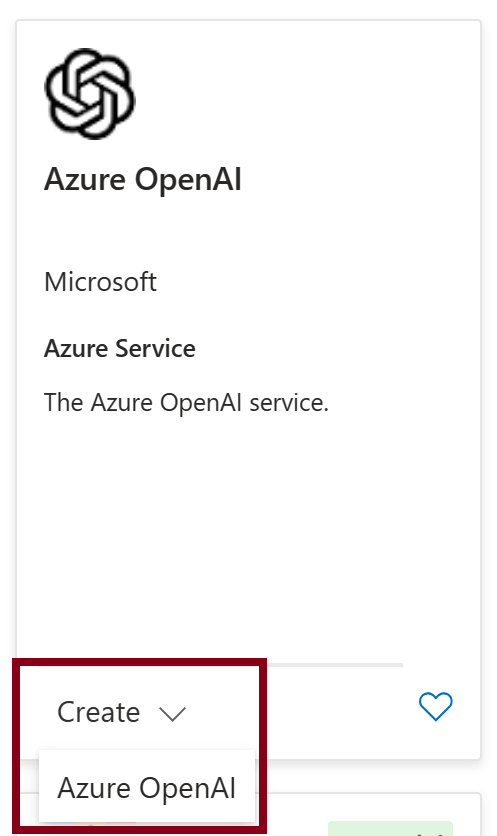
- Search for Azure OpenAI.
-
For Azure OpenAI, select Create > Azure OpenAI.
-
Select a Subscription.
- Select a Resource Group or select Create New (to create a new resource group). If you are creating a new resource group, enter a name, then click OK.
- Select a Region.
- Enter a name. Note the name that you use. This name will be used to configure the Contoso app to use the proxy. The name must be unique.
- For the Pricing Tier, select Standard S0, then select Next.
- You may be asked what type of network access to grant, depending on your corporate security specifications. Select your option, then select Next.
- Add any necessary tags, then select Next.
- Review your selections, then select Submit. This creates the OpenAI resource.
At this point you have deployed an Azure OpenAI Service. From the OpenAI Service resource in the portal:
-
Select Model deployments.

-
Select Manage Deployments.
This will bring you to the Azure OpenAI Studio Deployments page.
From here:
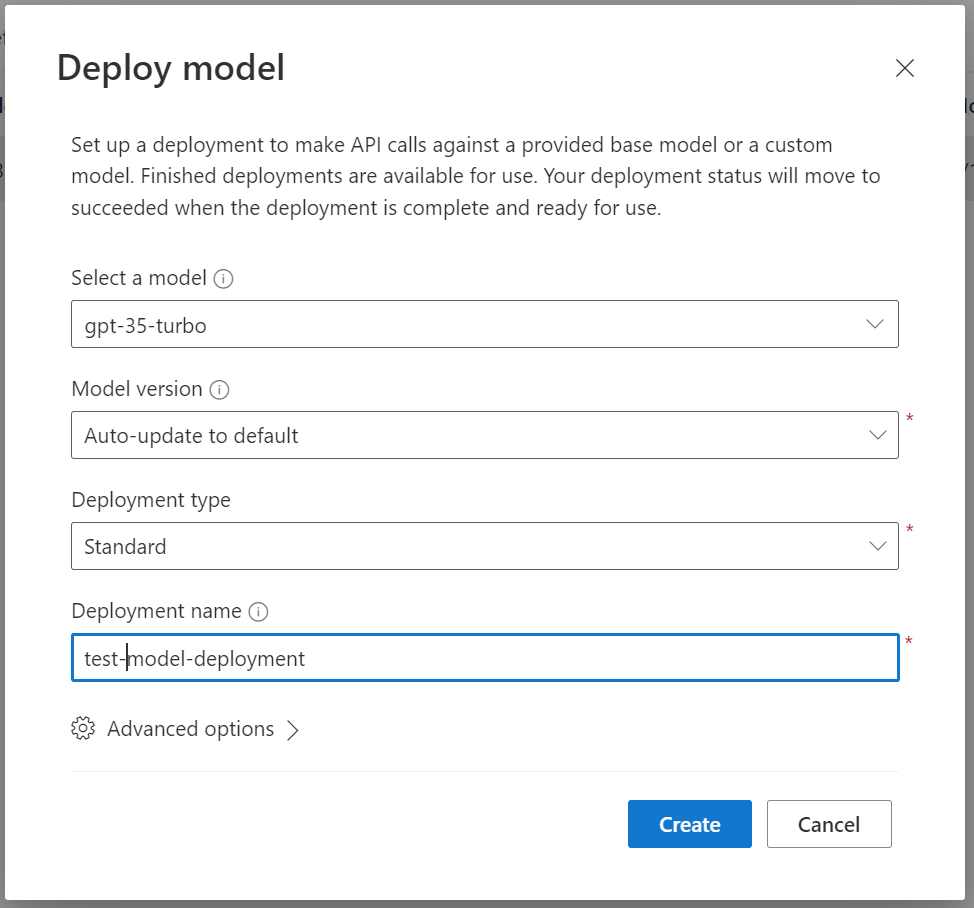
- Select Create new deployment.
- Select a model and give the deployment a name.
-
Click Create.
Deploy Contoso Chat App
Now that the OpenAI model is deployed.
-
Under Playground, select Chat.

-
In the top right of the playground, select Deploy to -> A new web app.

-
Select Create a new web app.
- Enter a name, then select a subscription, a resource group, and a pricing plan.
-
Select Deploy.

Once the Web application is deployed, you should be able to find the app service using the name you provided.
-
Go to the App Services page.

-
Select the web application you created.
-
In the overview for the app service, you should see the Default domain.
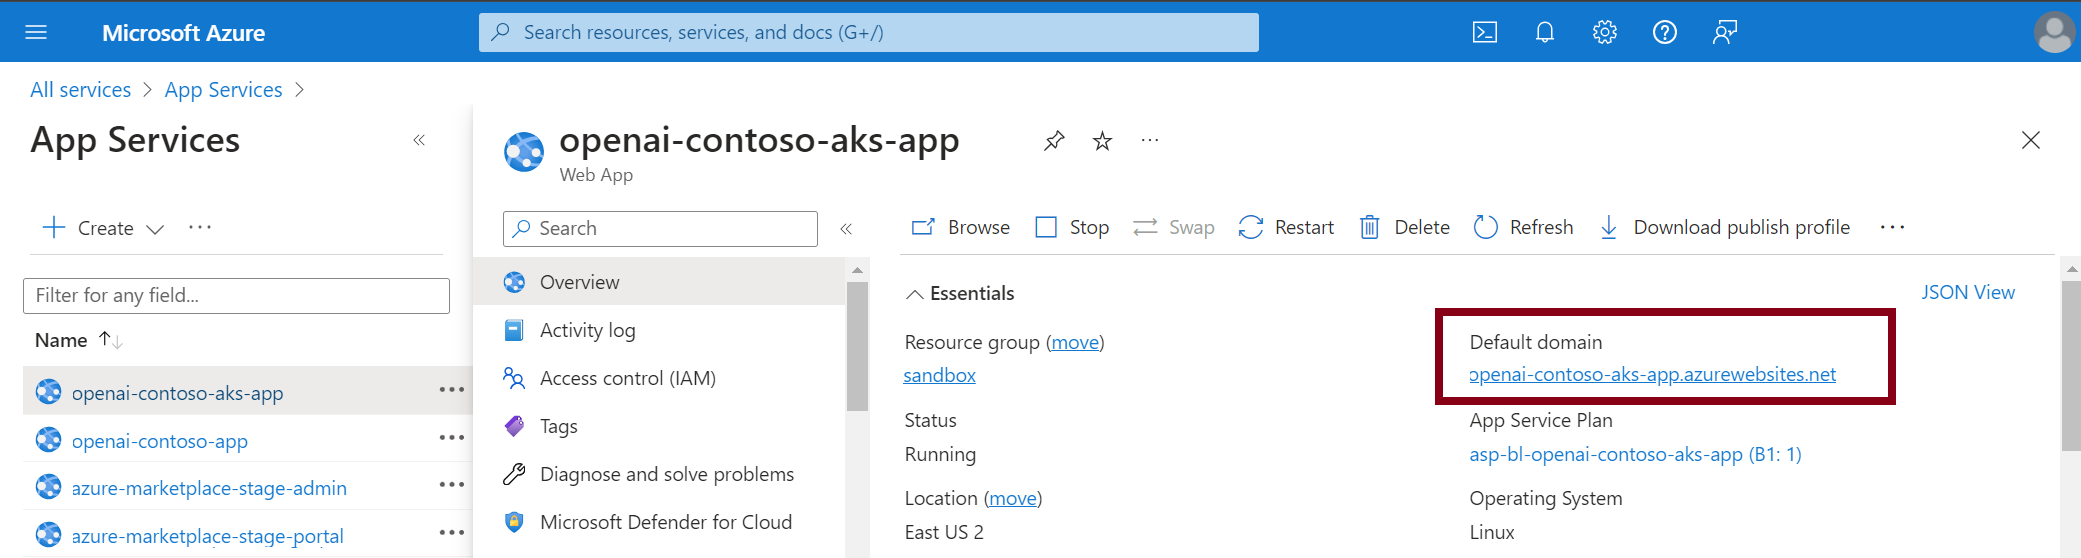
-
Navigate to the URL for that domain and you can see the Contoso chat application.
Deploy AIDR
Following the steps in the AIDR Deployment Guide (AWS, Azure, or Local), use this sample config/values.yaml for working with Azure OpenAI in hybrid mode. For HL_LLM_PROXY_MLDR_BASE_URL, set to us or eu based on your region.
image:
  tag: latest

config:
  HL_LLM_PROXY_MLDR_CONNECTION_TYPE: hybrid
  HL_LLM_PROXY_CLIENT_ID: <client_id>
  HL_LLM_PROXY_CLIENT_SECRET: <client_secret>
  HL_LICENSE: <license>
  HL_LLM_PROXY_MLDR_BASE_URL: https://api.[us/eu].hiddenlayer.ai
Set an Alert policy on PII input prompt in order to test connectivity.
Connect Contoso to AIDR
The Contoso app is connected directly to the Azure OpenAI service. To utilize the proxy, Contoso must redirect traffic to the proxy. To do so, the IP address or DNS name for the proxy is needed to provide the connection between the Contoso app and the Proxy.
In the Azure Portal:
- On the App Services page, select the Contoso app service previously created.
- Under Settings, select Environment Variables.
-
Find the setting for AZURE_OPENAI_ENDPOINT, click on the name, then modify its value:
-
http://<<IP or DNS name>/api/v1/azure/<Azure OpenAI Service Name>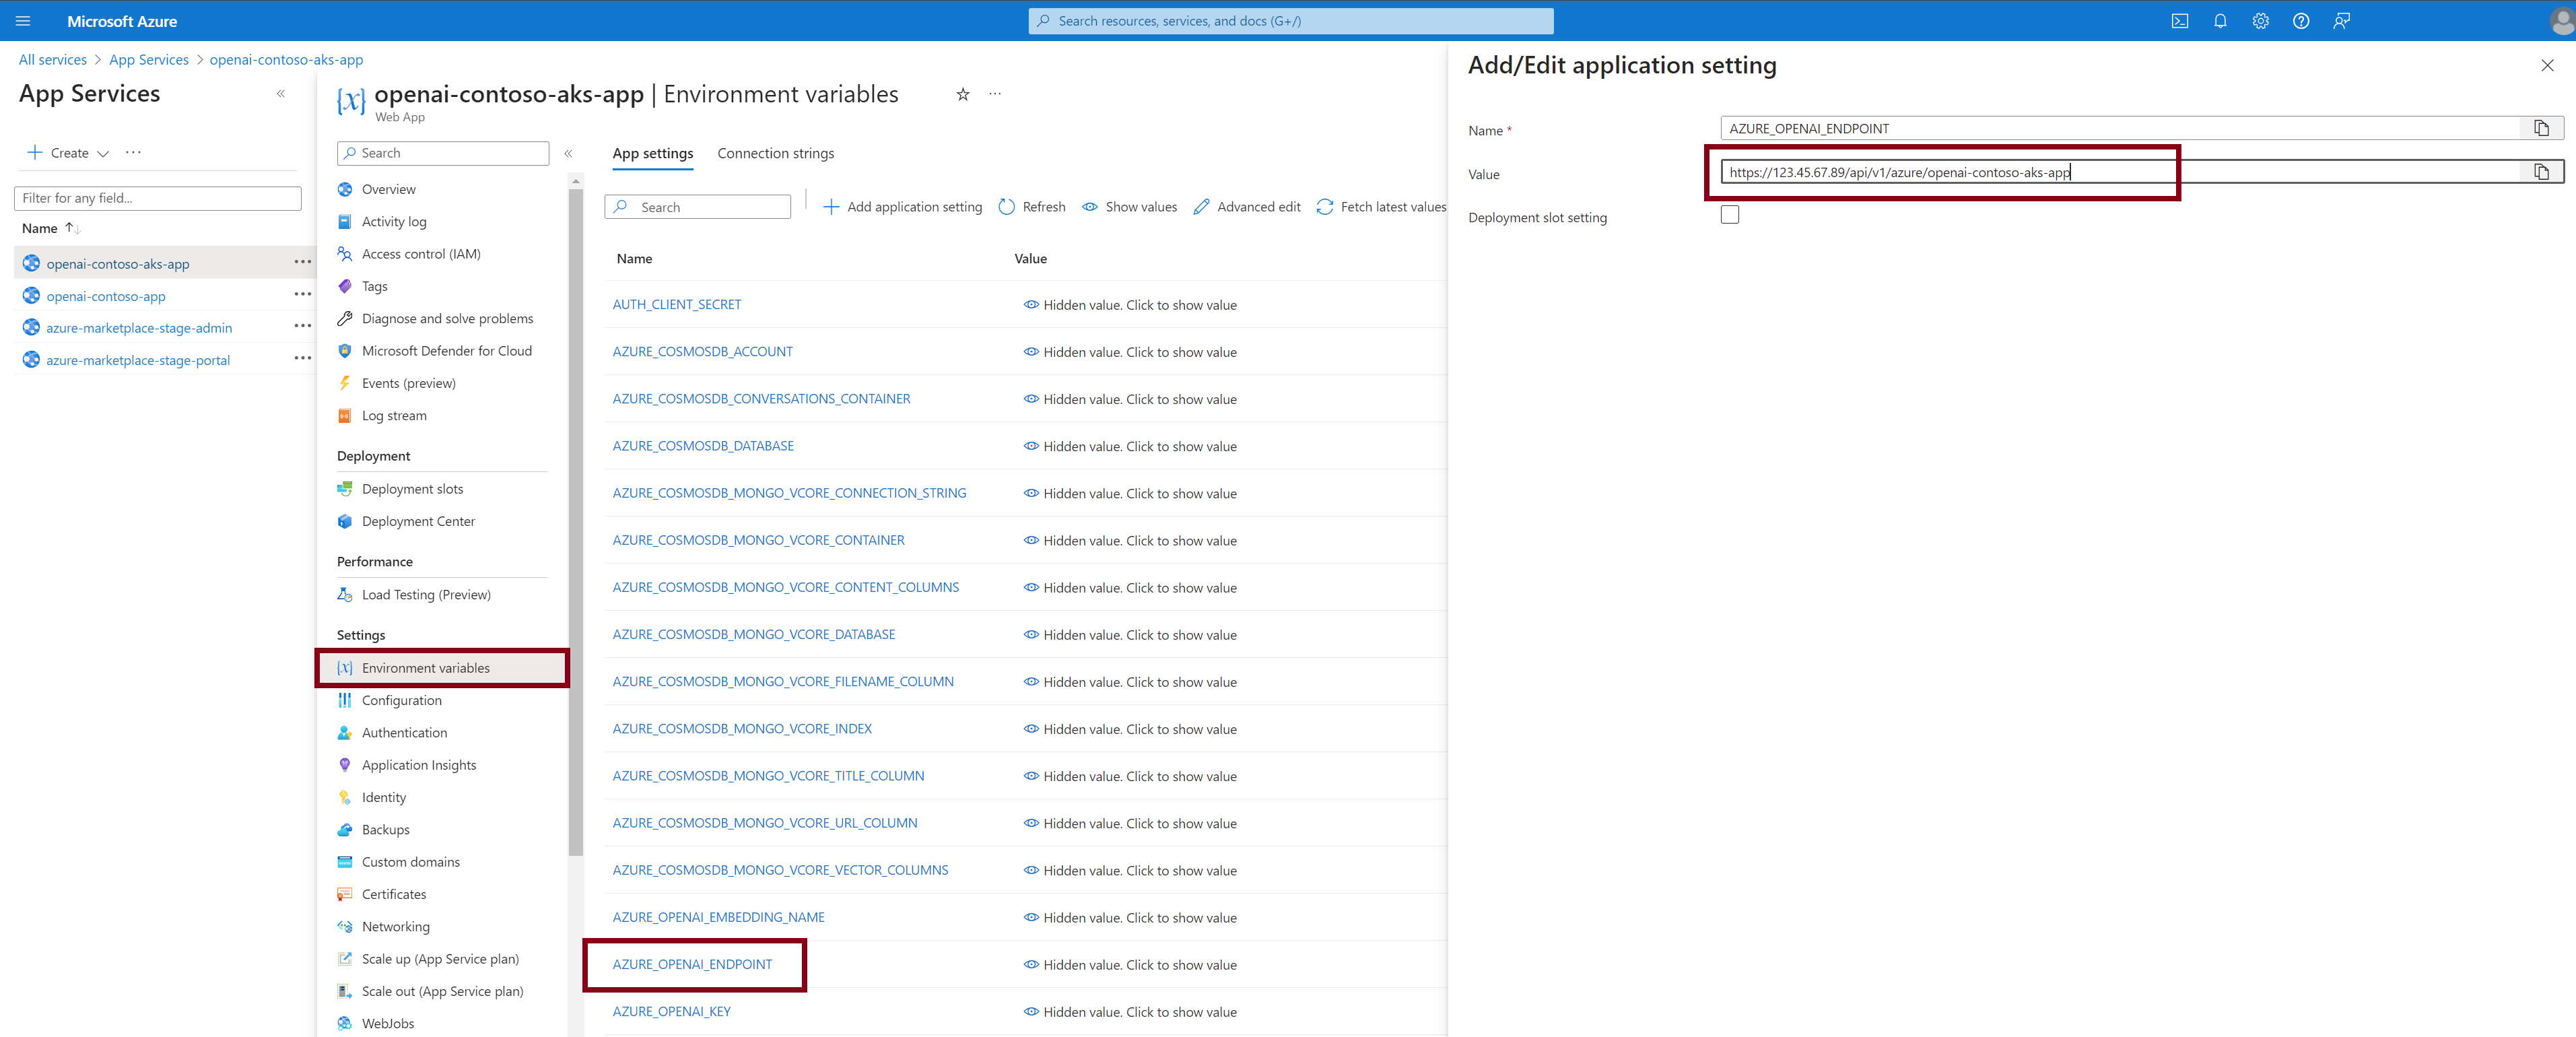
-
-
Select Apply to save the configuration.
- Go back to the Overview page.
-
Select Restart to restart the app service and get the new configuration.

Once the Contoso app service has restarted, the app service -->proxy --> LLM service can be tested. Initiate a test by entering a phrase with common PII contained within the input. After hitting Enter, log into the HiddenLayer AIDR for GenAI console at https://console.us.hiddenlayer.ai, navigate to the Detections section of the UI. If the connection is successful, and the policy has been configured, a Data Leakage alert will appear in the console. This will confirm successful connection and the testing of prompts can begin.
Configuring Azure API Management
Architecture
This document describes how to set up an Azure API Management (APIM) instance so that it will route requests to the chat completion to the LLM Proxy while routing any other requests directly to Azure OpenAI.
graph LR
  A[Azure API Management] -- /openai/deployment/:model-name/chat/completion --> B((AIDR))
  B --> C
  A -- any other endpoint --> C(Azure OpenAI)
Prerequisites
- Azure OpenAI Service running
- LLM Proxy running
- APIM with ability to route to either Azure OpenAI Service or LLM Proxy
Steps to Configure
Preparation
- Download latest OpenAPI spec to a local file. The following was used for this guide: azure-rest-api-specs/specification/cognitiveservices/data-plane/AzureOpenAI/inference/preview/2024-03-01-preview/inference.json at main · Azure/azure-rest-api-specs
-
Modify by changing the servers section to point to your OpenAI instance
Configure Azure API Management
-
Set up Azure OpenAI Service API.
- In your API Management service, under APIs, select API.
- Click Add API.
- Under Create from definition, select OpenAI.
- Select the OpenAI file that you modified and saved earlier.
- Most of the fields should be filled in.
- The API URL suffix should be modified to
openai.
-
Set up a Backend for the proxy.
- Under APIs, select Backends.
- Click Add.
- Give it a name:
llm-proxy. -
Set the Custom URL to match the URL needed for the proxy.
http://<<IP or DNS name>/api/v1/azure/<Azure OpenAI Service Name>/openai
-
Configure the Azure OpenAI Service API.
- Go to the API you created and select Azure OpenAI Service API.
- On the Settings tab, uncheck Subscription required. Note: If you intend to use subscriptions and can control the client usage, you can leave this checked.
- On the Design tab, search for the endpoint that has the name “chat”.
- Select that endpoint (POST Creates a completion for the chat message). Be careful to make sure that you have selected the endpoint and not All operations.
-
Click on the policies code editor and modify it to the following:
Configure Contoso to use API Management Instance
- Change the endpoint in
AZURE_OPENAI_ENDPOINTto the endpoint for the APIM. For example:https://hl-llm-apim.azure-api.net/.